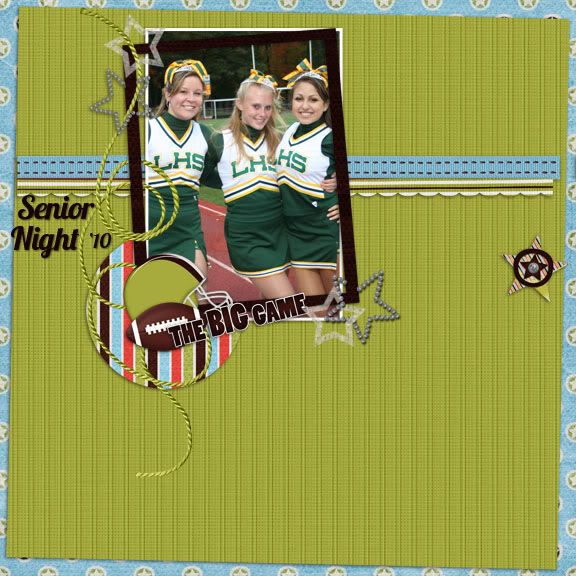
Here is another layout for my scrapbook. This layout was created using the kit Pigskin Party from Trixie Scraps and the template is also from Trixie Scraps set standing alone. I have decided that is will be much quicker if I use templates to create my layouts for the book.
Friday, January 21, 2011
Sunday, January 16, 2011
Soda Shoppe Color Pop Sale
DSDI $1 Sale through Monday Only. All kits in Soda Shoppe Color Pop are the same color pallette so they can be used together very easily. Get them now for only $1.
Saturday, January 15, 2011
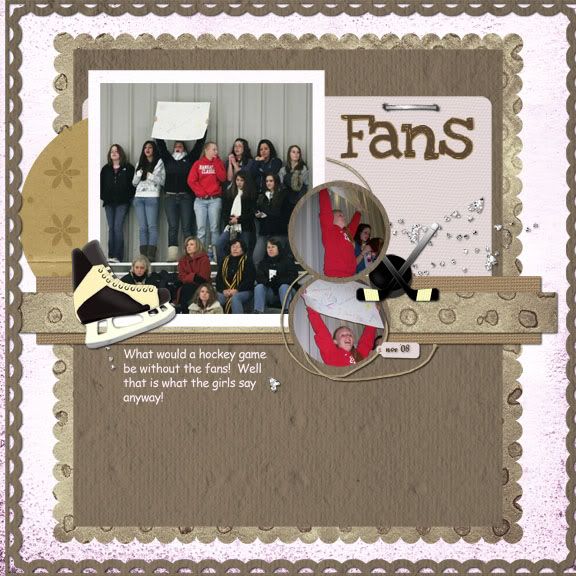
Well it is hard to believe my but Shannon will be graduating high school in June. I want to make a scrapbook for her of all her memories of high school. I have a lot of work to do in a short period of time. So I decided to take advantage of the challenges on scrapbook site and some of my CT layouts. So here are the first two.
This one is from freshman year...the beginning of all the hockey games!
This layout was created using a template from Connie Princess set big and littles. I used the kit Time for Me from DayBreak Scraps and I made the hockey elements.
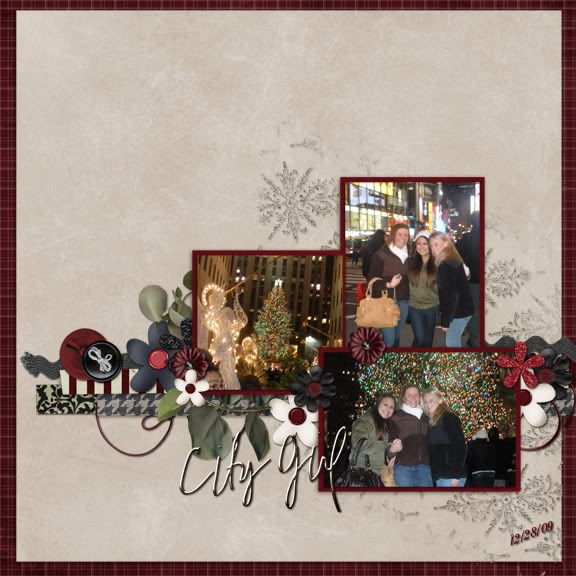
This next layout is from Junior Year ~ Christmas in the Cityh
This layout was created using the template from the Jan Cluster Challenge @ GottaPixel and the kit is City Girl a collab by Trixie Scraps and Mya De Leon.
So I have two layouts down and many, many more to go!

Thursday, January 13, 2011
Daily Download is almost back at DigiScraps Drive-In
That's right, the Digi Scraps Drive-In Daily Download is almost here!
Bonnie Blou will be giving away her newest kit, Chocolate Kisses, from January 17th until January 26th. Each day she will be giving away a small portion of this new kit, so don't you dare miss a day.
Here's a little sneak peak at what the full kit looks like -
Bonnie Blou will be giving away her newest kit, Chocolate Kisses, from January 17th until January 26th. Each day she will be giving away a small portion of this new kit, so don't you dare miss a day.
Here's a little sneak peak at what the full kit looks like -
Sunday, January 9, 2011
Saturday, January 8, 2011
How to apply filters to your photos
I thought I would do something different and do a how to. Have you ever looked at a layout and said “wow I love the effects of that photo” wonder how they did that. In many cases Actions or scripts have been used to alter the photograph. I am going to walk you through how to use Actions to give your photos the WOW factor. Before I got into how to run actions I am going to explain what actions are and give you some free sites to get actions.
Actions (for Photoshop users) or Scripts (for Paint Shop users) is really nothing more then a set of predefined steps that are automatically applied to your photo when you run them. The action could contain 3 steps or 15 steps. Some actions will just run from start to finish without you ever having to do a thing. Others may stop and ask you to do something. Photoshop and Paint shop come with some basic actions/script but there are tons of free actions/scripts out there. There are also some that you may purchase. So enough explanation lets play.
The action we are going to work with is called Moody Pop and is a free action from CoffeeShop you can download the action here this action will take your photo from this
To this
and all you had to do is click the play button.
Once you download your action you need to add it to your program so it will recognize it. There are two ways you can do this.
First Way ~ this is the way I do it
1. Make sure Photoshop is open
2. Make sure the action window is displayed. Actions is a tab with your history window. So if you have your history window display chances are so is the actions tab. If not do the following:
Click on Window from the file menu --- chose actions
3. Go to the folder where your action (atn file) is
4. Click and drag the atn file from the folder to your Photoshop desktop. Now when you click on the action tab in your History/Action window you should see the action you just added at the bottom of your list.
Now you are ready to work with this action
Second Way.
1. Make sure the action window is open
2. there will be a small arrow in the right hand corner of the window click on this to open the drop down menu
3. chose load action and work your way to the folder of the action you want to add.
4. Click load
Now you are ready to work with this action.
Once you download your action you need to add it to your program so it will recognize it. There are two ways you can do this.
First Way ~ this is the way I do it
1. Make sure Photoshop is open
2. Make sure the action window is displayed. Actions is a tab with your history window. So if you have your history window display chances are so is the actions tab. If not do the following:
Click on Window from the file menu --- chose actions
3. Go to the folder where your action (atn file) is
4. Click and drag the atn file from the folder to your Photoshop desktop. Now when you click on the action tab in your History/Action window you should see the action you just added at the bottom of your list.
Now you are ready to work with this action
Second Way.
1. Make sure the action window is open
2. there will be a small arrow in the right hand corner of the window click on this to open the drop down menu
3. chose load action and work your way to the folder of the action you want to add.
4. Click load
Now you are ready to work with this action.
I use CS2 Photos
1. Open you photo
2. Make a duplicate of your photo. You never want to work on your original photo but rather a copy.
3. Go to the action tab
1. Open you photo
2. Make a duplicate of your photo. You never want to work on your original photo but rather a copy.
3. Go to the action tab
4. Look for the action Coffee Shop Moody Pop
5. Run the action by clicking the arrow 
When the action runs you will get a message box which gives you some instructions as to what you may want to alter once the action is completed. Click Continue
6. You action is now complete you may alter the opacity of the Moody Pop layer or the Vignette Layer. In my finally photo I did alter both.

You will also notice that there is a a layer which is not displayed – black and white conversion – if you click this it will give you the black and white version of your photo.

If you would like to now add this photo to your layout you should merge the layers and either save the new photo or if you have your layout open you can click on the photo layer1 and drag it into your layout.
Hope you liked working with this action. If you would like to find more actions to use on your photos I have listed some sites below with free actions. You can find many more just search in Google for free Photoshop photo actions.
http://www.thecoffeeshopblog.com/
http://designm.ag/resources/photoshop-actions-touchups/
http://www.visual-blast.com/photoshop/124-free-photoshop-actions/
When the action runs you will get a message box which gives you some instructions as to what you may want to alter once the action is completed. Click Continue
6. You action is now complete you may alter the opacity of the Moody Pop layer or the Vignette Layer. In my finally photo I did alter both.
You will also notice that there is a a layer which is not displayed – black and white conversion – if you click this it will give you the black and white version of your photo.
If you would like to now add this photo to your layout you should merge the layers and either save the new photo or if you have your layout open you can click on the photo layer1 and drag it into your layout.
Hope you liked working with this action. If you would like to find more actions to use on your photos I have listed some sites below with free actions. You can find many more just search in Google for free Photoshop photo actions.
http://www.thecoffeeshopblog.com/
http://designm.ag/resources/photoshop-actions-touchups/
http://www.visual-blast.com/photoshop/124-free-photoshop-actions/
Labels:
color pop,
how to,
photo affect,
photo effect,
photo filter,
photoshop tutorial,
tutorial
Sunday, January 2, 2011
Subscribe to:
Posts (Atom)